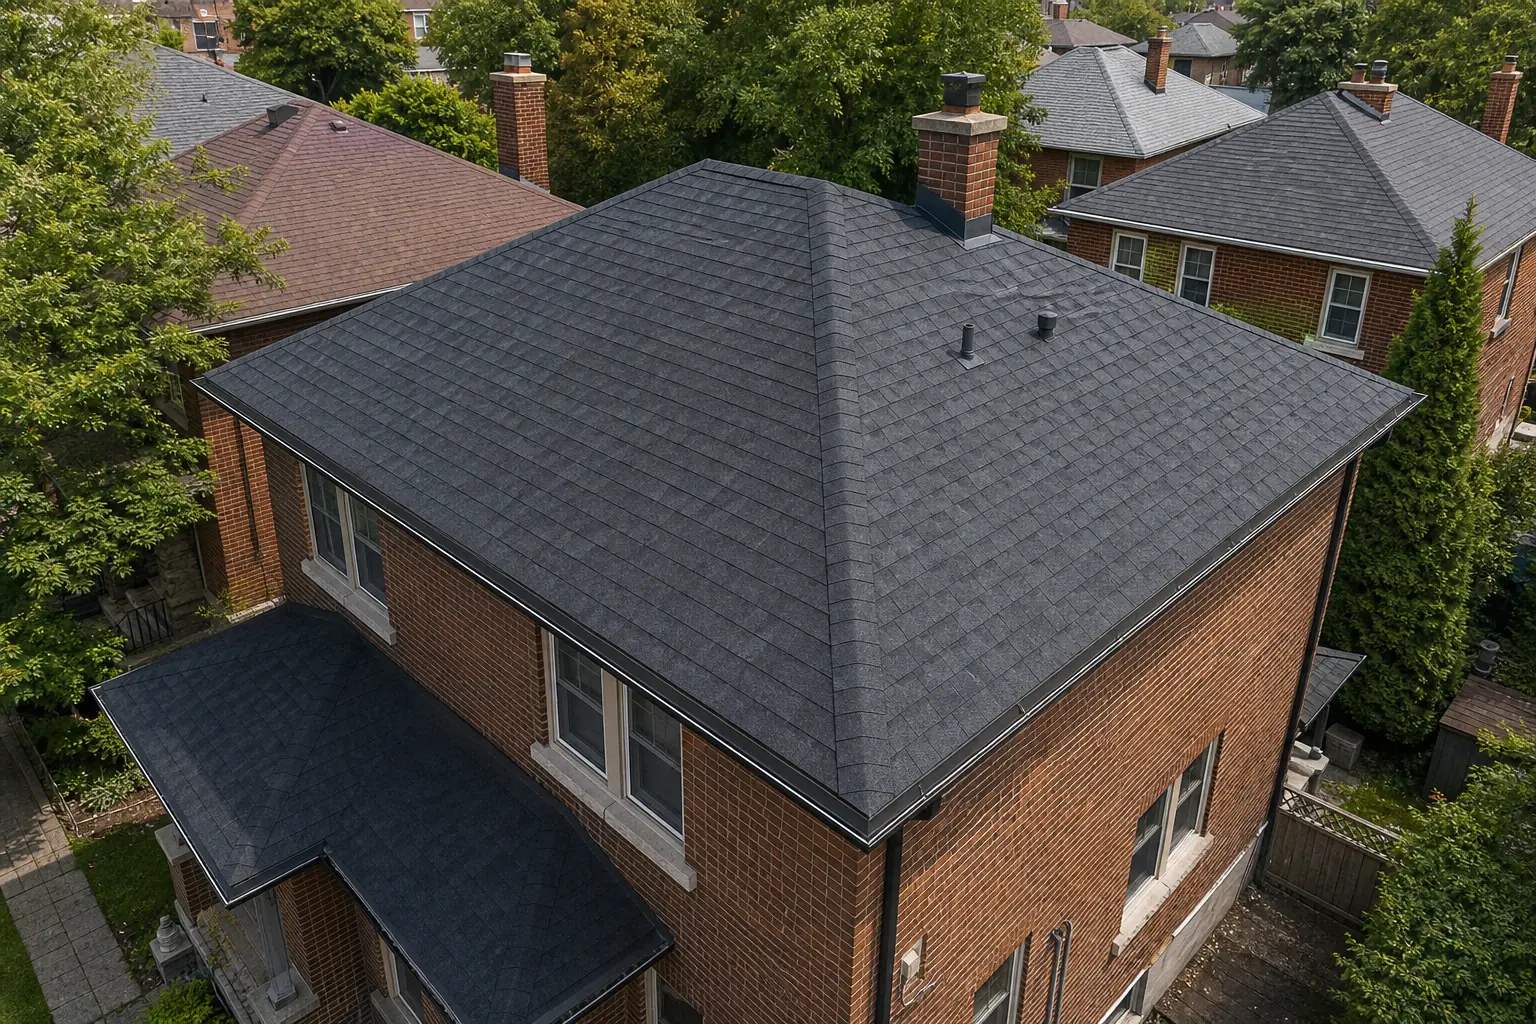
Why small Toronto roof leaks become big problems fast
A roof leak is rarely just a roof problem. Water that enters the deck does not stay where it landed. It tracks along rafters and trusses, soaks into insulation, runs down the inside of exterior walls, and finds the interior at the first weak joint in the drywall, often three or four meters from the actual leak source. By the time a stain appears on the ceiling, the leak has been active for weeks or months.
Toronto's climate accelerates the damage. The freeze-thaw cycle pushes water deeper into the deck every time it freezes and expands. Summer humidity grows mould in wet insulation. Winter ice damming concentrates water in the worst possible location: the eaves and the top of exterior walls. A leak that would take two years to develop in a dry climate develops in six months in Toronto.
The math is simple. A roof repair caught at month 2 costs the price of the repair. A roof repair caught at month 18 costs the repair plus drywall plus insulation plus paint plus mould remediation. That is the difference between a $700 visit and a $7,000 invoice.
How to spot an early roof leak in Toronto
Three layers to check: interior signs, attic signs, and exterior signs. None require climbing on the roof.
Interior warning signs
- Ceiling stains that follow the slope of the roof above. A round stain directly under a vent stack tells you the vent is the source. A stain that runs along a corner where ceiling meets wall tells you the roof-to-wall flashing is the source.
- Discoloured drywall in upstairs corners, particularly on the windward (storm-facing) side of the house. Toronto storms come predominantly from the west and northwest; the west and north sides of the roof leak first.
- Musty smell in upstairs closets, especially closets backing onto an exterior wall. Mould develops in wet insulation before any visible stain reaches the room side of the drywall.
- Paint that bubbles on a ceiling or upstairs wall, even if there is no visible stain. Trapped moisture lifts paint long before it stains the surface.
Attic warning signs
- Dark stains on the underside of the roof deck. A flashlight check from the attic shows you exactly where water has been hitting the wood, even if it has dried since.
- Rust on the nails protruding through the deck (which is normal in older attics) — but new rust patterns or rust drips on the insulation below tell you water is reaching the nails.
- Compressed or stained insulation. Soft, sagging insulation in one area while the rest of the attic looks normal is a strong sign of water entry above that location.
- Visible daylight through the roof deck from the attic. This one means call today.
Exterior warning signs from ground level
- Missing, lifted, or curled shingles visible from across the street, particularly on the windward side of the roof.
- Granules in the gutters. A handful of granules after a heavy rain is normal on a roof under 15 years old. Fistfuls of granules, or visible bare asphalt patches on the shingles themselves, mean the shingles are past life.
- Rust streaks running down siding from a flashing point — chimney, sidewall, vent stack. The metal is corroding and the seal underneath is gone.
- Staining on fascia or soffit below the roof edge. Almost always points to a gutter overflow or an ice-dam history, both of which often have a roof component.
The 5 most common Toronto roof leak sources
Twenty years of Toronto roofs and a few thousand inspections, and the same five points generate most of the calls.
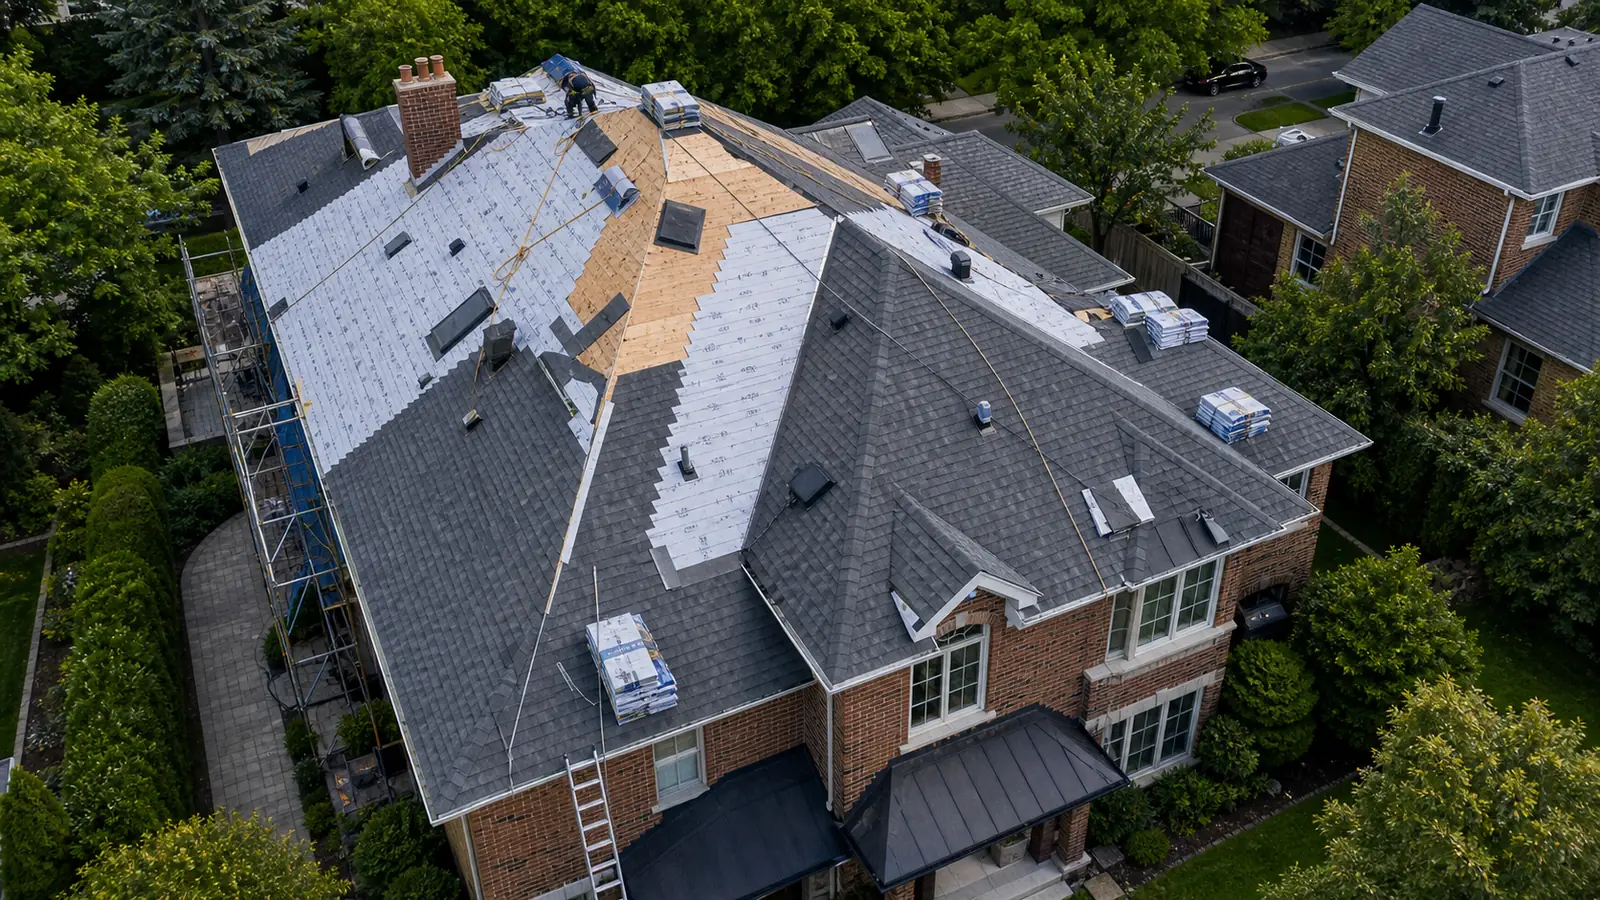
1. Damaged or lifted shingles
Wind events (anything over 70 km/h sustained) lift shingles, break the seal strip that holds the next shingle down, and over time work the nail heads loose. The shingle still looks present from the ground but is no longer sealed; water gets underneath during driving rain. Fix: replace the loose shingles, re-seal the surrounding course with shingle adhesive, check for any underlying nail pops in the deck. Repair cost: $300 to $700.
2. Failed step flashing at brick walls
Where a roof meets a brick wall (common on Toronto semis and additions), the waterproof junction is made by step flashing: small L-shaped pieces of metal interleaved with the shingles, with a counterflashing tucked into the mortar joints of the brick above. After 20 to 30 years, mortar erodes, the counterflashing slips out, and water runs down the brick and into the wall behind the flashing. Fix: rebuild the step flashing in place, install new counterflashing, repoint the brick joints. Repair cost: $600 to $1,400. This is the single most common leak source on Toronto semis and rowhouses.
3. Cracked vent boots
Plumbing vent stacks pass through the roof inside rubber boots (sometimes called "pipe collars"). The rubber gets brittle from 10 to 15 years of UV and freeze-thaw and cracks along the top edge where it meets the pipe. Water then runs down the pipe and into the attic. The leak shows up directly below the vent stack, usually on a hallway or bathroom ceiling. Fix: replace the boot with a new one (10-minute job in good weather). Repair cost: $300 to $600. Every Toronto roof over 10 years has vent boots that are either cracked or about to crack.
4. Chimney crown and counterflashing failures
The chimney is the most-likely-to-leak feature on most Toronto roofs because it has three failure points clustered in one location: the crown (the concrete cap on top of the chimney), the flashing where the chimney passes through the roof, and the mortar between the bricks. Crowns crack from freeze-thaw, flashing pulls away from the bricks, and mortar joints open. Water enters at the top and runs down inside the chimney structure or appears as a stain on the ceiling immediately adjacent to the chimney. Fix: rebuild the crown with proper crown sealant or new pour, install new step and counterflashing, repoint as needed. Repair cost: $800 to $2,500 depending on what is failing. See our chimney repairs Toronto page for details.
5. Skylight curb perimeter leaks
Skylights are a leak source roughly 80 percent of the time when they do leak, not because of the skylight itself, but because of the flashing around it. The skylight sits on a wood curb that pokes through the roof, and the curb is wrapped in metal flashing that interleaves with the shingles. After 15+ years, the sealant fails, the metal corrodes at the corners, and water enters at the upper edge of the curb. Fix: replace the flashing kit and re-shingle around the curb. Repair cost: $400 to $1,000. See our skylights Toronto page for details on skylight repair versus replacement.
What happens if you wait
The fastest way to understand why early repair matters is to look at what each additional year of leakage does to the cost.
| Stage of leak | Typical scope | Typical Toronto cost (2026) |
|---|---|---|
| Caught in first 60 days | Roof repair only | $300 to $1,200 |
| Caught at 6 to 12 months | Roof repair + small drywall patch | $700 to $2,000 |
| Caught at 12 to 24 months | Roof repair + drywall + insulation + paint | $1,800 to $4,500 |
| Caught after 2+ years | All above + mould remediation + deck repair + larger roof scope | $4,500 to $12,000+ |
| Structural damage stage | Full ceiling rebuild + insulation + mould + roof replacement | $15,000 to $40,000+ |
The progression is almost linear in the first year and exponential after that. A roof leak is the rare household problem where the cost of fixing it later is 10 to 30 times the cost of fixing it now. Most other home maintenance items get modestly more expensive over time; roof leaks compound aggressively.
How a Toronto roofer should diagnose your leak
The diagnostic process matters because guesses lead to misdirected repairs. Six steps that should be standard on any leak callout.
- Interior inspection first. The roofer comes inside and looks at where the stain or water actually is. The interior path tells the roofer where the entry might be — but rarely tells the exact spot because water tracks.
- Attic inspection second. A flashlight in the attic on the underside of the deck reveals the actual entry point: dark stains, wet wood, rusted nails. This is where the leak is, not where it shows.
- Roof inspection third. Now the roofer goes on the roof with photos, checks the area above the entry point, looks at the related flashing, vents, valleys, and shingles.
- Photo documentation. Before-repair photos of the actual problem area. You should see these in the quote.
- Scope written before work starts. What is being repaired, what materials, what warranty.
- Post-repair photos and a hose test. Water on the repair confirms the leak path is sealed. After-photos for the warranty record.
A roofer who walks around your house once and then quotes the repair from the truck has not actually diagnosed your leak. They have guessed. Sometimes the guess is right. Often it is wrong, and the leak comes back because the actual entry point was not addressed.
What to do today if your Toronto roof is leaking
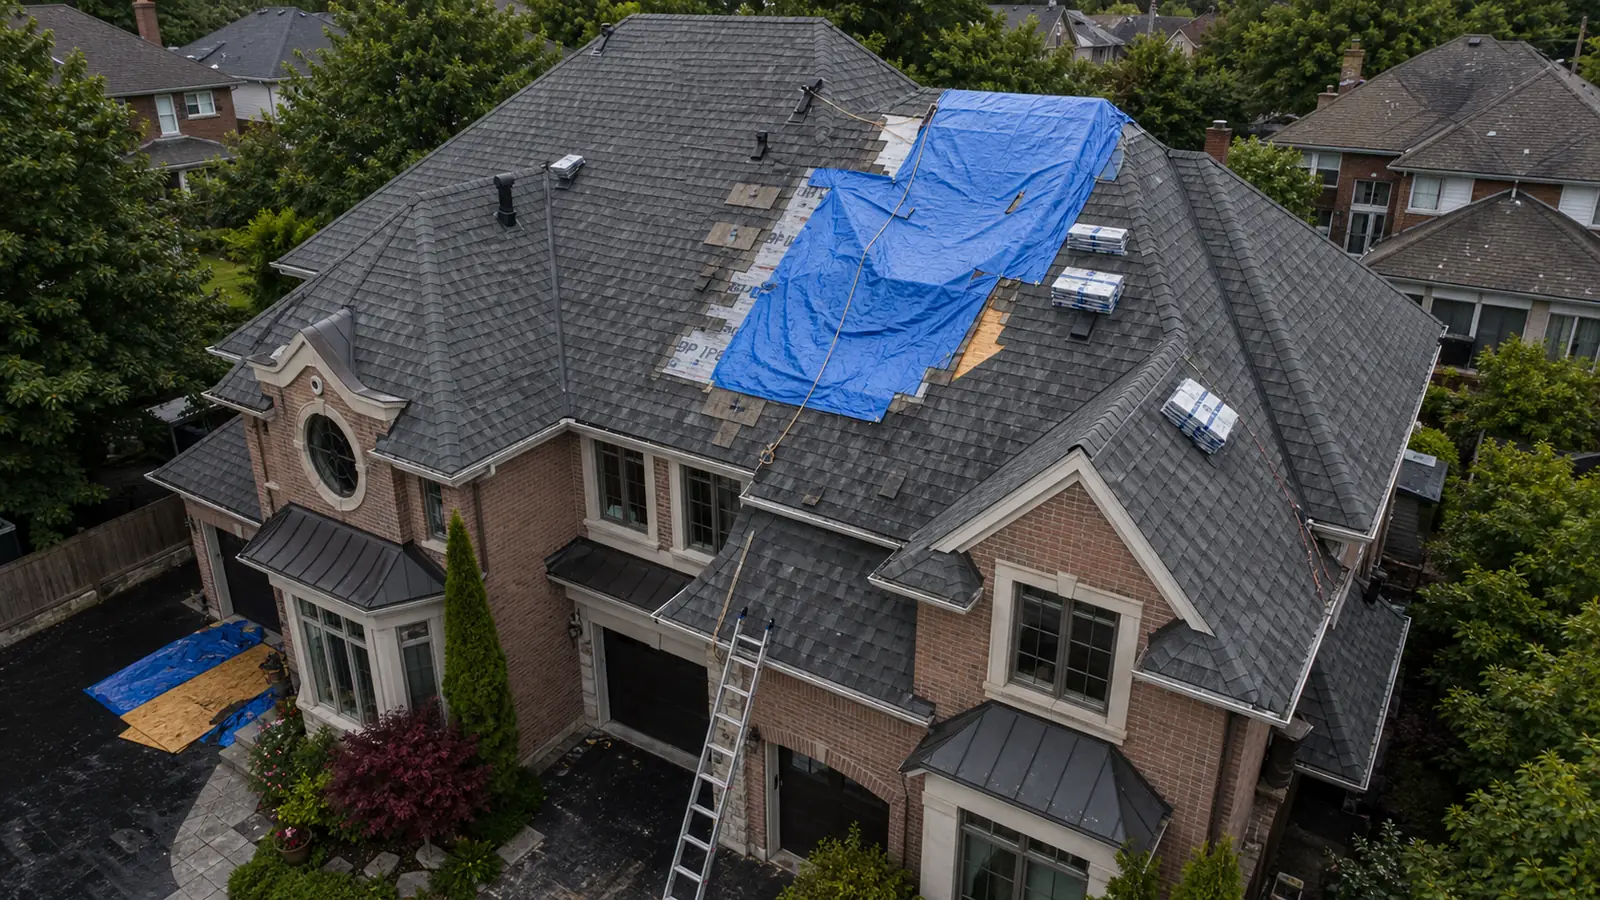
- If water is actively entering the house: place a bucket, move furniture, contain the damage. Do not climb on the roof yourself in active weather. Call a roofer for same-day emergency stabilization (we dispatch across Toronto within 60 to 90 minutes in business hours).
- If you have a stain but no active water: photograph the stain location, check the attic for the source, and book a proper inspection within a week. Mark the perimeter of the stain with a pencil so you can see if it grows.
- If you suspect a leak but cannot find it: hose test the roof from the ground or have a roofer do it during the inspection. Spraying water on specific areas while someone watches the attic from inside identifies the entry point.
- If the leak is from ice damming: book the permanent repair (insulation, ventilation, ice-and-water shield) for spring, not winter. Mid-winter ice-dam removal is a temporary fix that does not address the underlying cause.
The point of catching a roof leak early is not to save money on the roof. It is to save the rest of the house. A $700 roof repair preserves a $400,000 interior. The order of operations matters: fix the entry, then dry the cavity, then fix the cosmetic damage. Skip the first step and the cosmetic damage comes back, every year.
Frequently asked questions
01 How do I know if my Toronto roof is leaking when I cannot see water?
Three indirect signs to check inside the house. Ceiling stains that follow the slope of the roof above (slow leaks track along framing before they drip). Musty smell or visible mould on the inside of an exterior wall, particularly in upstairs corners. Pinhole brown spots on a popcorn or stippled ceiling — these are pre-stains where water has wet the drywall briefly but not yet broken through. In the attic, look for stained insulation, blackened or rusted nails on the underside of the roof deck, or wet rafters after a rain. Any of these means there is water entering the roof system somewhere, even if you cannot see it inside the rooms.
02 Can a small roof leak in Toronto wait until spring?
It depends on the size and the season. A small leak discovered in October can usually be tarped and held until April for permanent repair, because the deck stays mostly dry under snow. A leak discovered in February when ice damming is active is urgent because each freeze-thaw cycle is actively widening the entry point and forcing water deeper into the wall cavity. The cheap test: if water comes in during every rain, repair within the month. If water comes in only during specific weather (driving rain from one direction, ice melt), monitor and plan a spring repair window.
03 Why do Toronto roofs leak more in February than other months?
Ice damming. When attic heat escapes through under-insulated areas, the snow on the roof melts from below, runs down to the cold eaves, and refreezes into ridges of ice. As more snow melts behind the ice, the water pools and is forced upward under the shingles, where it bypasses the standard water-shedding design of the roof and enters the deck. The fix is permanent: more attic insulation, better attic ventilation, ice-and-water shield on the lower 6 feet of the roof. A February leak with no visible damage usually means an ice-dam issue, not a roof failure.
04 How much does a roof leak repair cost in Toronto?
Typical 2026 pricing in the GTA. Shingle-level repair (1 to 12 damaged shingles): $300 to $700. Vent boot replacement: $300 to $600. Step flashing repair at a brick wall: $600 to $1,400. Chimney flashing rebuild: $800 to $2,500. Skylight perimeter reseal: $400 to $1,000. Emergency tarp and same-day stabilization: $250 to $500 add-on. These are typical numbers; complex access (three-storey, slate, copper, heritage detail) can run higher.
05 Will my home insurance cover a Toronto roof leak repair?
Usually no for gradual wear, usually yes for sudden damage. Insurance covers storm damage (wind, hail), tree impact, and ice-dam interior damage in most policies. Insurance does not cover the cost of replacing worn-out shingles, fixing the original underlying defect, or leaks resulting from "neglected maintenance" — language insurers use to deny claims on roofs over 15 years old. If your leak is from a storm event, document everything and file the claim. If your leak is from age, the cost is on you. Either way, repair early; insurance does not pay more on a worse problem.
06 Can I patch a Toronto roof leak myself temporarily?
A roofing tarp held in place with 2x4 lumber and a few well-placed roofing nails will hold for 4 to 8 weeks in normal weather. A tube of polyurethane roofing sealant applied over a visible crack or split shingle will hold for a few months in dry seasons. Both are temporary. Both buy time to get a proper repair scheduled. Neither is a fix. The reason: temporary patches do not address the underlying water path, and water trapped behind the patch keeps moving and keeps damaging the deck. Tarp now, repair within a month.